Guide – How you create your own Microsoft 365 / Azure Tenant
Welcome, I’ll guide you through setting up your very own Microsoft 365 / azure tenant. A tenant is the basic foundation to get started with Microsoft 365 or Microsoft Azure products.
Create your own Microsoft 365 / Azure tenant
First, launch an InPrivate Browser session; I recommend using Microsoft Edge for an optimal experience
Then, navigate to this direct link for a ‘free trail’. (don’t worry you keep your tenant after the trail ends)
or use this indirect link and click on “try for free”
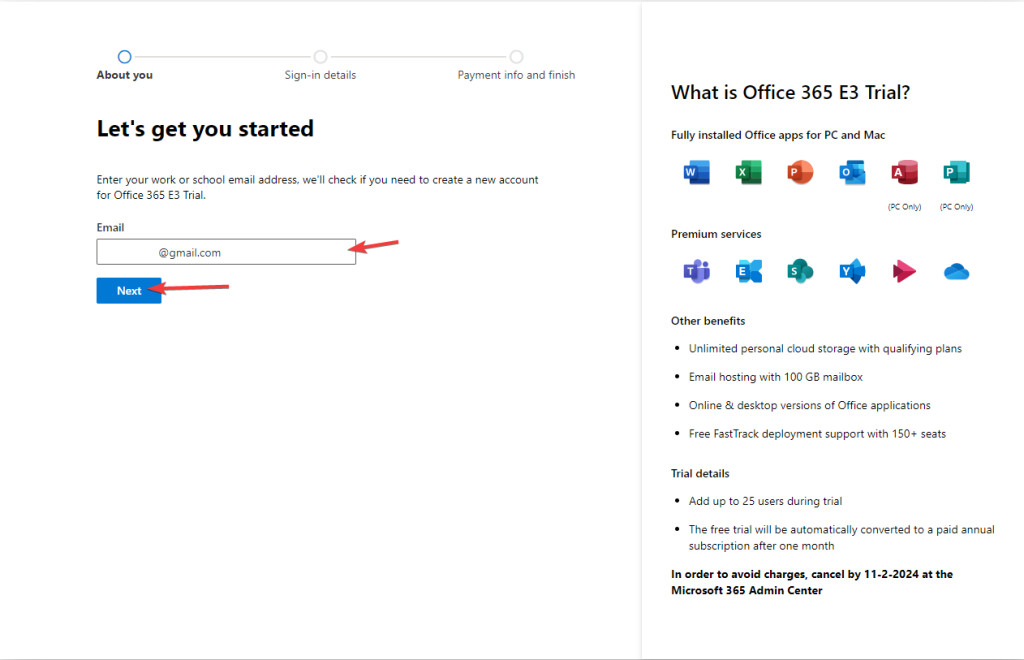
Step 1. Lets get started
For step 1, begin by entering your email address. It’s important to ensure that this email is not already linked to any other Microsoft 365 tenant. If you’re setting this up for the first time, it’s likely that your email won’t be associated with another tenant. After entering your email, click ‘Next’ to continue.
If your account isn’t linked with any other Office 365 tenant, you’ll receive a prompt to create your account. At this point, click on ‘Set up account’ to proceed with the setup.

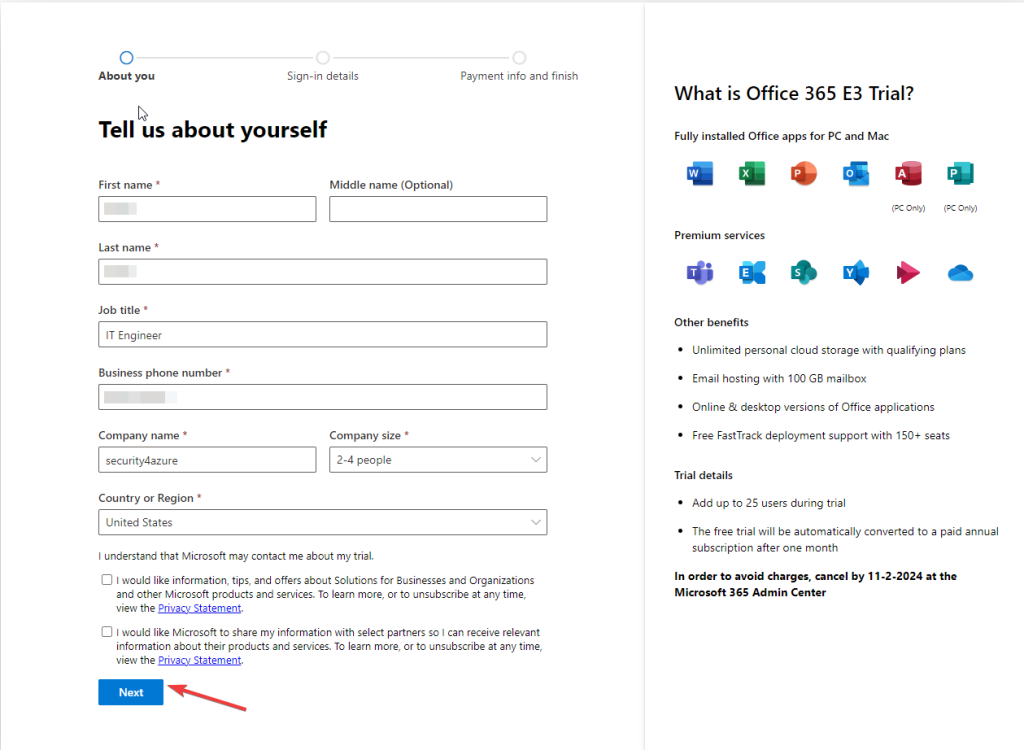
Step 2. Tell more about yourself
Enter your personal details in the provided fields. It’s crucial to select the correct country, as this cannot be altered after completion. Make sure to provide a valid Business Phone Number or mobile phone number, as this will be required for verification in the subsequent step. Once you’ve filled in your information, click ‘Next’ to continue
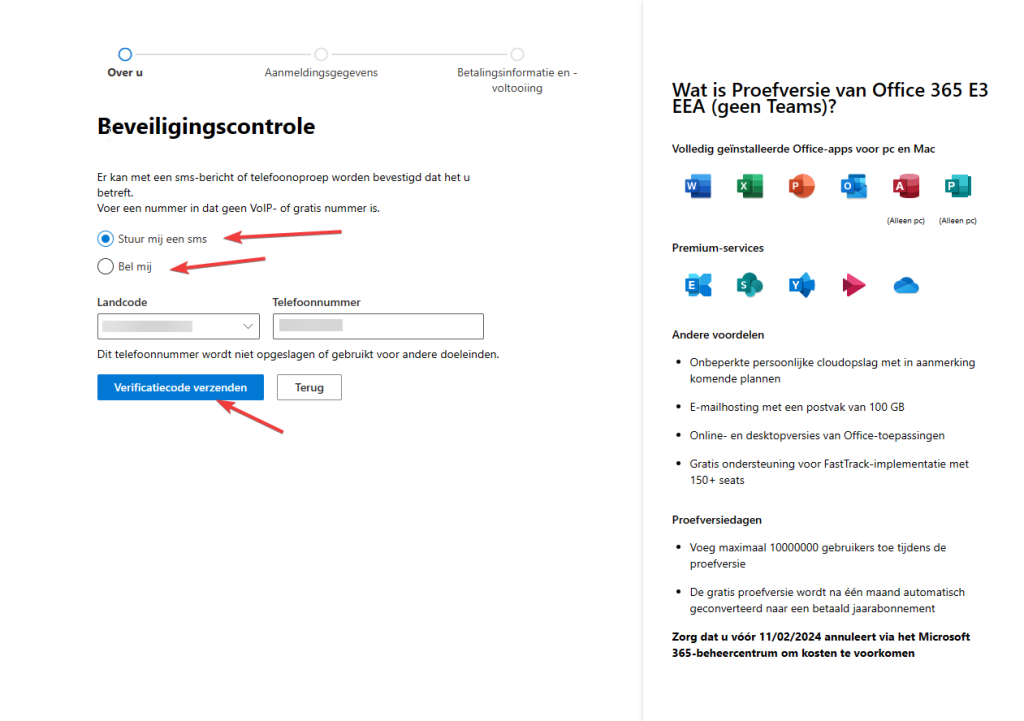
Now choose how you want to get your verification code (by text or by phone). Click on Send verification code.
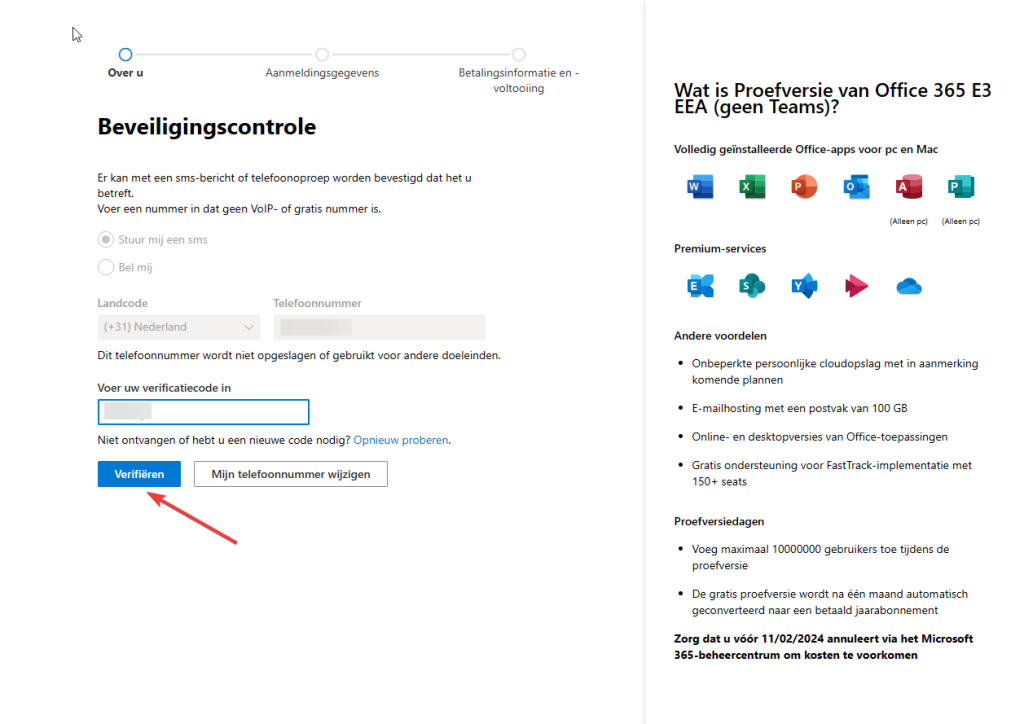
Enter the verification code
Step 3. Sign-in account creation (first admin of the tenant)
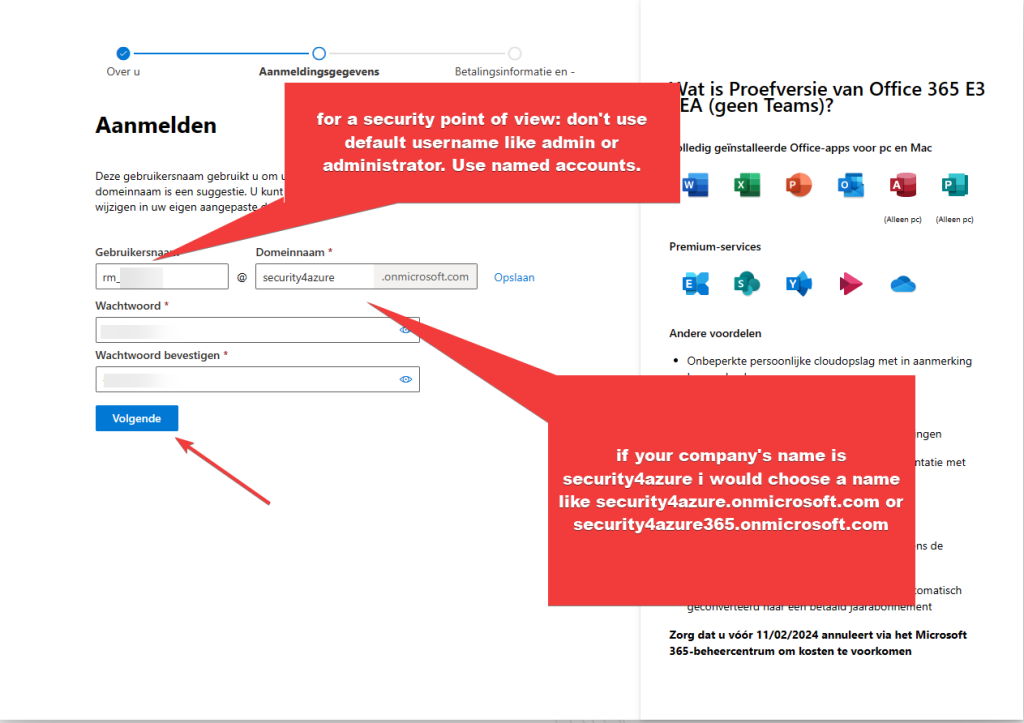
Select your domain name carefully, as it’s a crucial decision. Remember, the domain name you choose cannot be altered later. After selecting your desired domain name, click ‘Check Availability’ to verify if it is unique and available. If your chosen name is indeed available, then proceed by clicking ‘Next‘.
Some examples: if your company’s name is security4azure i would choose a name like security4azure.onmicrosoft.com or security4azure365.onmicrosoft.com
Don’t use default admin account names. Use named accounts.
Step 4. Confirm details and the free license
Review the details you’ve entered to ensure they’re correct, and then click on ‘Get Started’. Please note that in some countries, you might be required to provide a payment method to complete this step. If so, fill in the necessary payment information. After the creation of your tenant, you have the option to remove this payment method from your account.
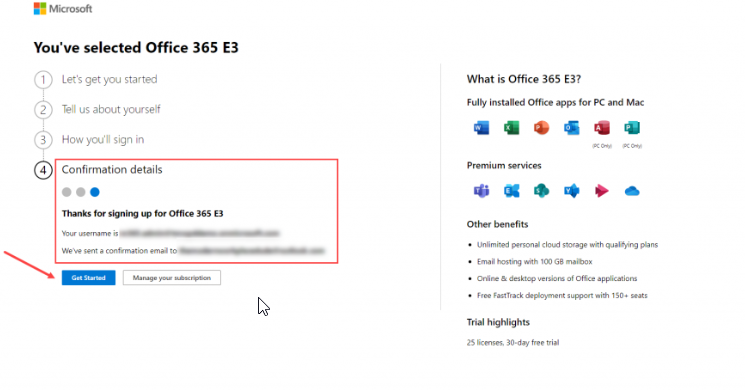
Congratulations, you’ve now created your Microsoft 365 tenant.
Step 5. How to access your Microsoft 365 tenant or Azure tenant
Launch an InPrivate Browser session; I recommend using Microsoft Edge for an optimal experience
For Microsoft 365 portal go to Portal.office.com or admin.microsoft.com
For Azure portal go to portal.azure.com
Sign-in with your username that you created in the steps above. Click on Next

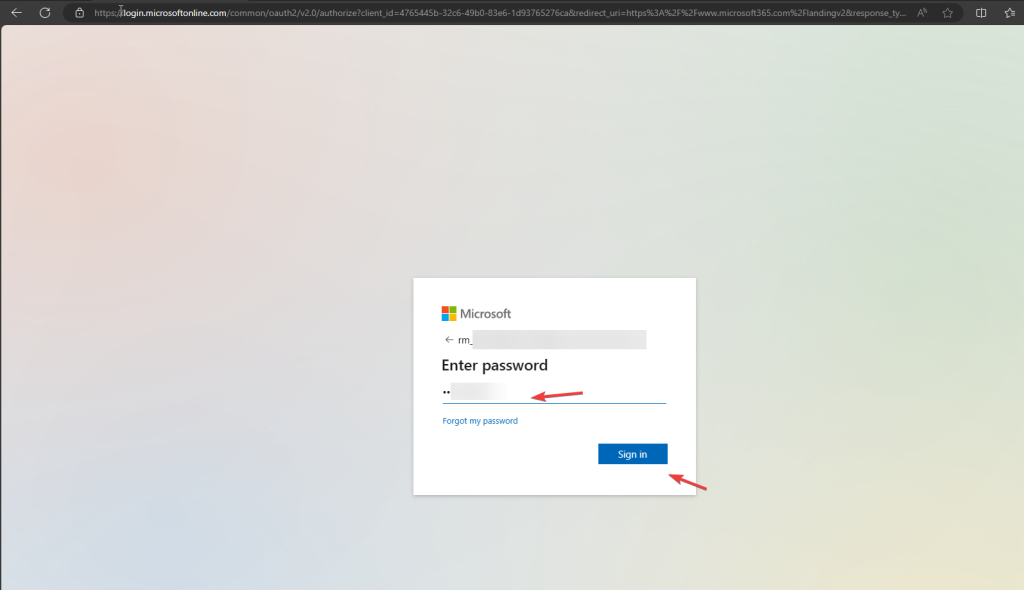
Enter your password that you created in the steps above. Click on Sign-in
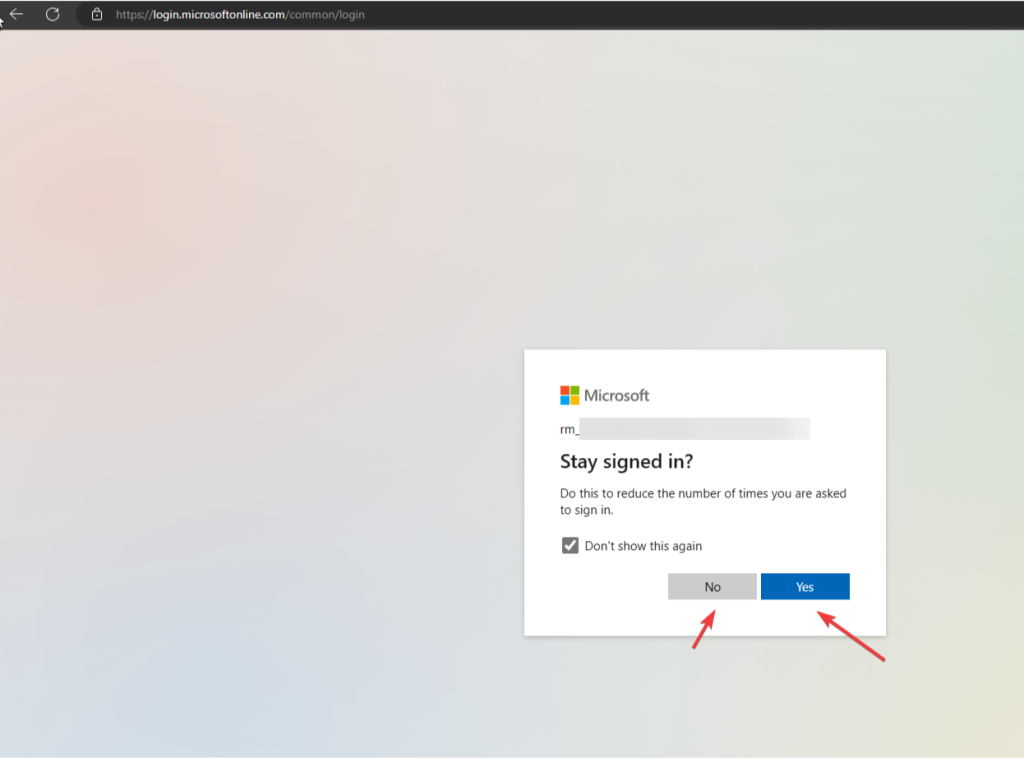
Choose if you wanted to “stay signed in” choose yes or no
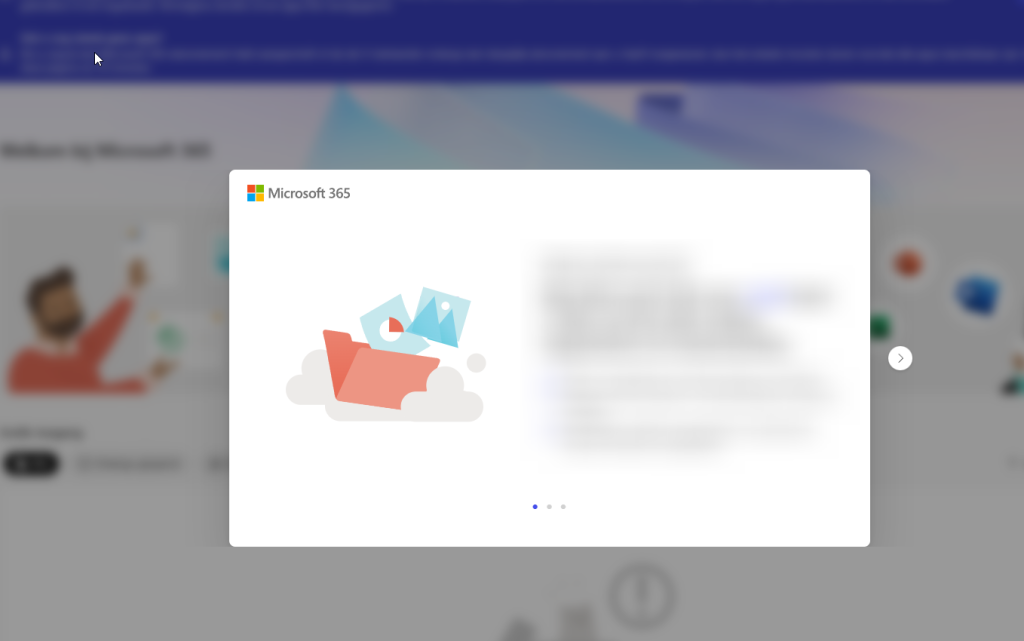
Congratulations, You are now successfully signed in to your new Microsoft 365 /azure tenant
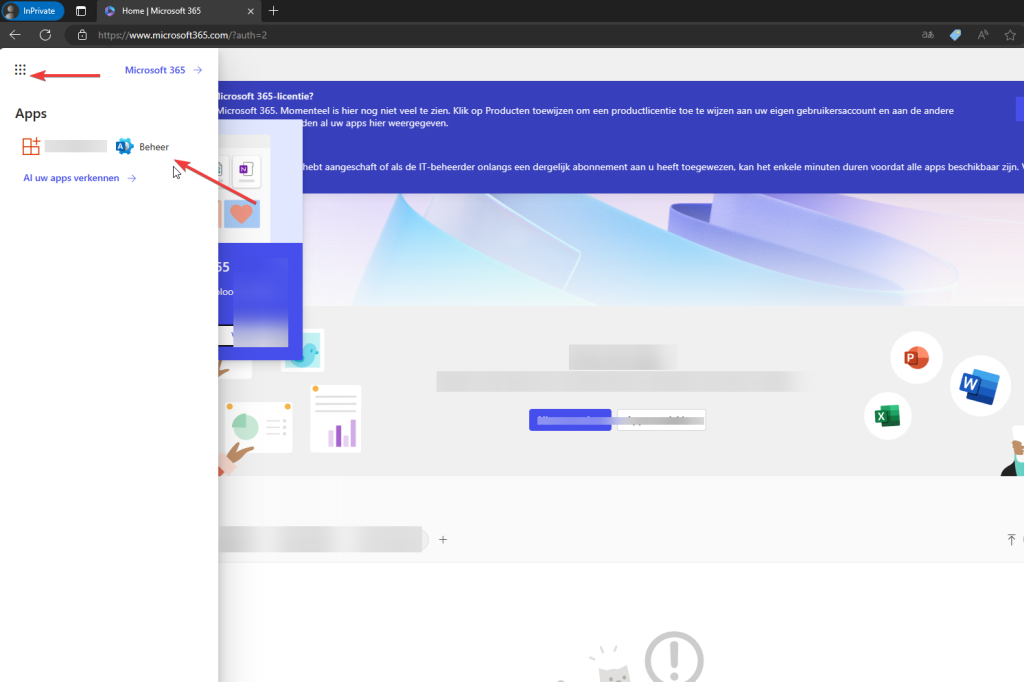
Depending if you used the Microsft 365 portal.office.com
Welcome Screen: This is usually the first thing you’ll see. It often includes a brief overview of Microsoft 365’s capabilities and features. Take a moment to read through this to get a sense of what’s available.
In the top-left corner of your Microsoft 365 tenant interface, you’ll find the waffle menu (often represented by a grid of nine dots).Clicking on this menu will provide access to various parts of the Microsoft 365 platform, including the admin section